Gas silicate blocks (aerated concrete) have recently begun to be used in the construction of houses and residential premises, therefore, during finishing work, builders have a natural question: aerated concrete? First, let's figure out what aerated concrete is and what are its properties.
Aerated concrete is an artificial stone, but soft and porous, a kind of construction foam. It is formed from quartz sand and cement with the addition of lime and gypsum in the process of gas formation with the help of special catalysts introduced into the mixture. Initially, cell slabs made of this material were used for thermal insulation, but over time, aerated concrete began to be used in the construction of walls.
How does aerated concrete differ from other materials?
- Despite its apparent lightness and porosity, it is an incredibly durable material from which you can even make load-bearing structures.
- It retains heat superbly.
- This material is very easy to cut, sawn, drill and nail.
As you can see, this is a completely special material, so it is necessary to understand well, from aerated concrete, so as not to disturb the balance of moisture and air in the room. Plaster for aerated concrete should be special, selected by specialists - such walls cannot be plastered with a conventional mixture.
Requirements for plaster for aerated concrete walls
Plastering of aerated concrete walls is possible only with dry mixes intended for such blocks. The mixture should be:
- impervious to moisture and steam;
- practically do not absorb moisture;
- have a high coefficient of adhesion to concrete;
- be resistant to temperature extremes and frost;
- do not crack.
If you choose the wrong mixture or plaster the walls in violation of the technology, you can get serious construction defects (for example, the loss of heat-insulating qualities), begin to crack and fall off very quickly. In no case should a home-made sand-cement mortar (grinder) be used for plastering gas silicate blocks, because this will very quickly lead to cracks.
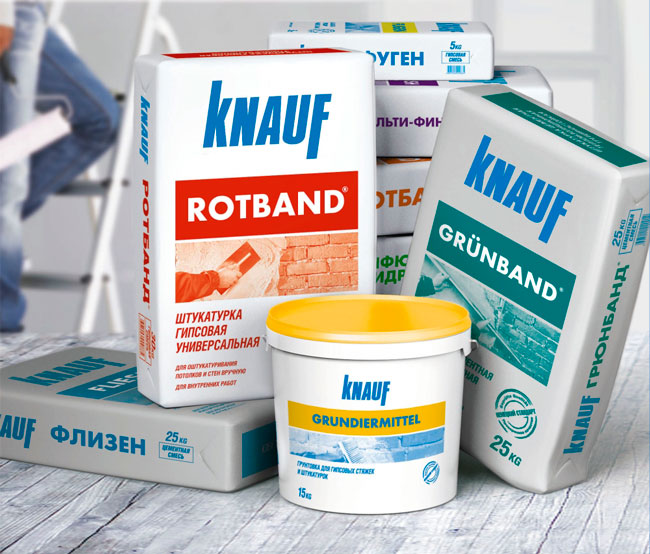
For plastering gas silicate blocks, special factory solutions are used:
- a mixture of Baumit HandPutz L, limestone and minerals. It contains a factory aggregate with a grain size of one millimeter, the layer thickness is ten millimeters - this is a budget option for plaster;
- VERMIX mix is already a premium option. It is based on expanded vermiculite. The layer of such plaster can reach thirty-five millimeters. Its strength coincides with the strength of the aerated concrete itself, which prevents the plaster from peeling off in severe frost. Like aerated concrete, it has high air permeability and heat capacity.
It is known that the permeability of moisture in a porous wall increases from the inner layer to the outer, therefore:
- first, the inner surface of the walls is plastered, and then the walls that go out;
- in no case should you plaster the facade of a building in summer, and in winter, plaster the walls inside. The coating may peel off the wall.
It is very important to strictly adhere to the correct plastering technology, and not only theoretically know how to plaster a wall of aerated concrete.
Sequence of plastering work for aerated concrete walls
How to plaster aerated concrete?
- First you need to prepare the wall for work - clean it from dirt, wash it, level it and, if necessary, grind it.
- Correct defects in seams with insulation and polyurethane foam.
- Putty the surface.
- Cover the surface with a special liquid - a primer.
- Fasten the alkali-resistant fiberglass mesh to the wall with self-tapping screws.
- Prepare a plaster mix and apply it to the wall. The powder must be diluted with water in the proportion of 30 kg of the mixture to 8 liters of water. The mixture is ready to use in just three to four hours. A standard 30 kg package should be enough to cover eight square meters of surface in a layer of two millimeters.
- After about an hour, smooth out the layer.
- Once the plaster is dry, the surface can be slightly moistened with water and smoothed out.
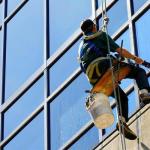
How to plaster aerated concrete walls outside?
In order to plaster the walls from the outside, you must do the following:
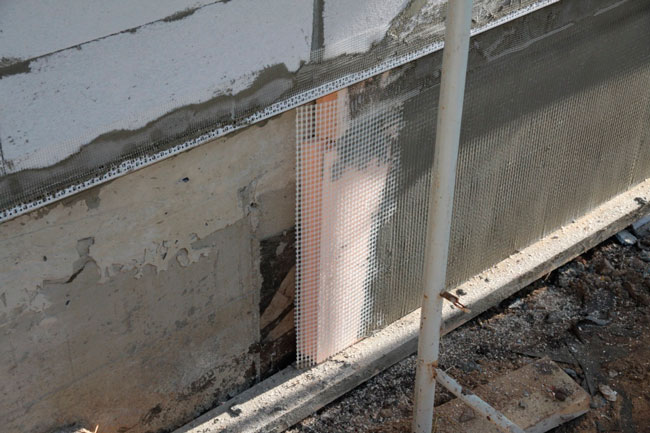
- Treat the facade with a special primer designed for cellular concrete blocks.
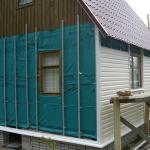
- Fasten the fiberglass mesh to the façade surface.
- Prepare a mixture for plaster and plaster the surface. The mixture must be absolutely vapor-proof. The thickness of the plaster should be half that for internal plastering.
- All the following operations are performed in the same way as in the case of interior decoration.
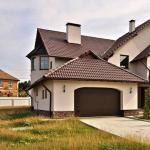
Work should be carried out at a temperature not lower than +8 and not higher than +30 degrees Celsius. It is especially important not to rush to plaster either internal or external surfaces. Aerated concrete is a very durable material; a house with walls made of gas silicate blocks can stand for quite a long time without plaster. But an incorrectly made coating can spoil the appearance of the structure for a long time. Because of this, it is very important to know how to plaster a wall of aerated concrete correctly.
For the durability of the facade, it is recommended to cover it with a very thin layer of water-repellent agent, but this procedure is best done in a year and a half after the completion of all finishing work. Only then will the walls dry so much that they will be able to take on a new protective layer.
A water repellent is a very useful thing. Such a coating not only protects against excess moisture, but also increases:
- frost resistance of the surface - almost five times;
- corrosion resistance - almost twice;
- the service life of the walls without repair is two to three times.
For hydrophilization, liquids of the Ceresit series are used (Ceresit CT 11, Ceresit CT 10, Ceresit CT 12, Ceresit CT 13, etc.). The protective layer is applied only to clean, dry and.
Video on how to plaster aerated concrete
Despite all the seeming simplicity, the procedure for plastering aerated concrete surfaces requires special knowledge and skills, so it is best to entrust the entire process to a specialist. Unfortunately, mistakes in carrying out the work will have to pay too high a price.