Recently, with the help of aerated concrete blocks, they not only carry out thermal insulation, but also erect houses. This material is somewhat "capricious", therefore, plastering of aerated concrete walls inside and outside the room should be carried out taking into account some nuances.
Many craftsmen believe that finishing work on the walls of aerated concrete must be carried out immediately after the construction of the building, but this is a rather risky undertaking. This procedure is best done after a year. The fact is that aerated concrete must have time to dry out before the onset of cold weather, which can be hindered by the plaster layer. If moisture remains inside in winter, it will freeze, causing the material to crack.
The first step is to carry out the internal plaster for aerated concrete, after which you can start finishing the external surfaces. You can even stall for a little time by doing internal work in the fall, and external work in late spring. The only exception can be buildings on the sea coast. In this case, the first step is to protect the external walls from the weather.
 First of all, internal plastering is carried out, and then external
 Important! It is strictly forbidden to plaster a house from aerated concrete from November to March.
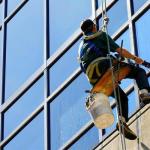
Is it necessary to plaster the gas blocks outside
External plaster for aerated concrete is completely optional. On the contrary, many craftsmen recommend immediately ordering walls of such a thickness, which would be enough to ensure a comfortable temperature inside the house without using plaster outside. An incorrectly selected composition or a violation of the application technology can lead to the destruction of the entire structure.
 Many masters oppose external plastering of aerated concrete walls
 Some advise using expanded polystyrene for insulation, but this material is practically impervious to water vapor. This leads to the fact that condensate accumulates at the junction of the insulation and the gas blocks. In the cold season, it freezes and leads to cracking of aerated concrete. If, nevertheless, it was decided to use expanded polystyrene, then it is necessary to lay a layer of 80 mm, while the thermal resistance of the heat-insulating material should not be lower than this indicator of aerated concrete.
On a note! To get rid of the need for additional procedures, it is enough to order a wall 10 cm thick in warm regions, 30 cm in cold regions, and 20 cm is suitable for baths.
How to plaster gas blocks
The question of how to plaster aerated concrete outside and inside the room is not at all idle. It should be noted right away that plastering on aerated concrete cannot be carried out using cement-sand mortars.
To properly plaster aerated concrete walls outside or inside the house, you must use the following compounds:
Interior plastering of aerated concrete walls
Before plastering aerated concrete, you should pay attention to thorough preparation of the base. To do this, remove all irregularities with a planer or a special tool for processing aerated concrete blocks. This process is recommended to be performed even at the stage of wall construction, but some builders simply forget about it in order to save time. The processing with a plane does not affect the operational properties of the future coating, but with its help it can be significantly reduced during finishing.
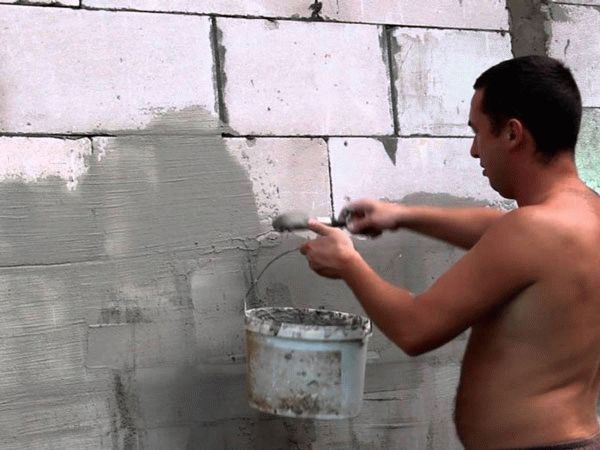
After that, you need to apply a primer. Some craftsmen dilute the primer with water, but this is fundamentally wrong. So you can save a little on the solution, but at the same time the adhesion of the treated blocks will drop significantly, which can affect the duration of the coating. To save a primer, it is better to pre-moisten the roller with water and walk it along the wall, then repeat the procedure, but with a primer. For damp rooms it is better to use a deep penetration impregnation, for dry rooms - a simple one.
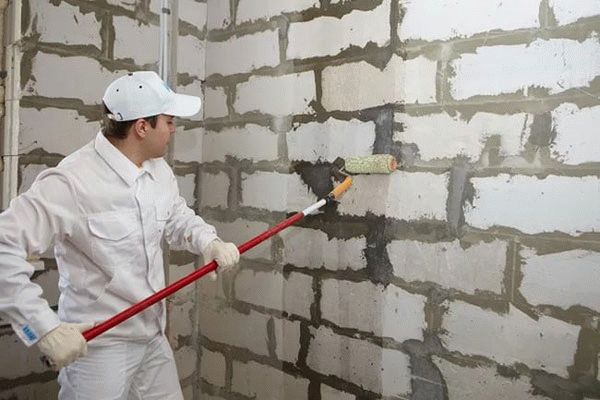 For better adhesion of the plaster to the blocks, it is necessary to pre-treat the walls with a primer.
 Then they proceed to the installation of plaster beacons. This is one of the simplest operations as the planed blocks do not have large drops. Using the building level, you need to find the maximum protruding point, add the profile height to the value, and, according to the obtained value, install beacons over the entire treated area with an interval of 130-160 cm.
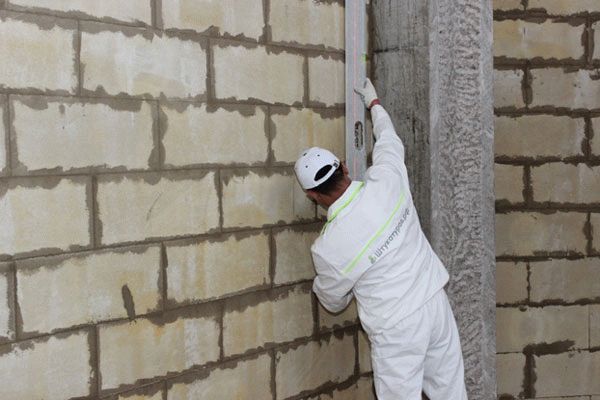 Installation of plaster beacons will allow you to apply the plaster perfectly evenly
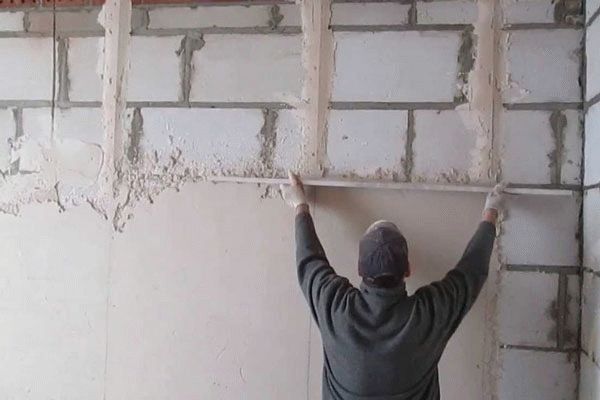
 When the preparatory work is over, they begin to plaster the walls from the aerated block. It is carried out using the following technology:
- First of all, apply a small sketching method. It is called spatter and is no more than 3 mm thick.
- After the spray has set, you can grab the base layer. It is called a primer, it is on the quality of the application of this layer that all indicators of the finished coating depend. The material is collected on a spatula and transferred to the wall, so the entire area between the two beacons is treated.
- Then you need to take the rule, press it against the beacons at the bottom of the wall and lift it up, while making zigzag movements from side to side. The solution will remain on the blade of the rule, it should be thrown up the wall. The procedure must be repeated until the blade remains clean after lifting.
- After the material has set, beacons are removed from it, and the resulting grooves are filled with a solution. Further, corners and hard-to-reach places are processed, after which the entire wall is left to dry.
- After the main layer has dried, the last one is applied - a cover. It is considered decorative, therefore its thickness is 1-3 mm. It is carefully leveled, and when it dries, it is rubbed with sandpaper.
- It is necessary to wait for the material to gain strength (the time is indicated by the manufacturer on the packaging), and you can proceed to the finishing.
The plastered coating is pasted over with wallpaper or painted. It is better to use materials based on acrylic, latex, cement or organic solvents as paint.
Plastering external walls made of aerated concrete
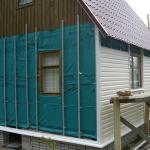
Plastering of aerated concrete outside can be carried out in two ways: by applying in one layer or in several. The single-layer version loses somewhat, so it is recommended to opt for the second method. Before plastering a concrete wall, you need to carry out the same manipulations with it as with the inner wall. After that, you need to install a reinforcing mesh.
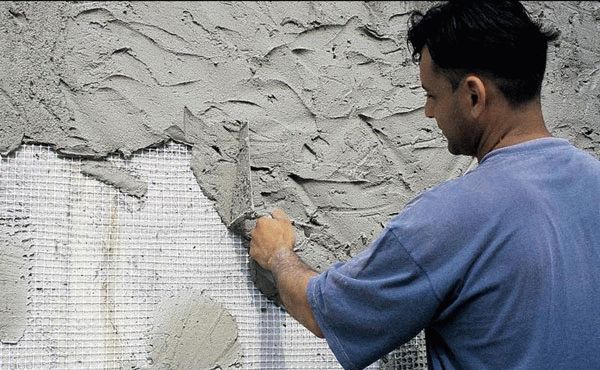 External plastering of aerated concrete walls is made using a reinforcing mesh
 For these purposes, metal products with a wire with a diameter of 1 mm and a side of 16 mm or a fiberglass mesh with a cell of 5 cm are used. This product is cut into fragments of such an area that it is convenient to work with them. After that, a plaster mortar is applied to the surface with a layer of no more than 5 mm, while it is fresh, the mesh is pressed against it and it is sunk.
Then you need to pause and wait for the solution to dry. It's easy to check: you need to spray a little water on the coating, if the liquid is quickly absorbed, you can continue working.
In turn, with an interval of 3-4 days, two more layers of material, 10 mm each, are applied. After drying, the plastered surface is rubbed in the same way as the internal ones.
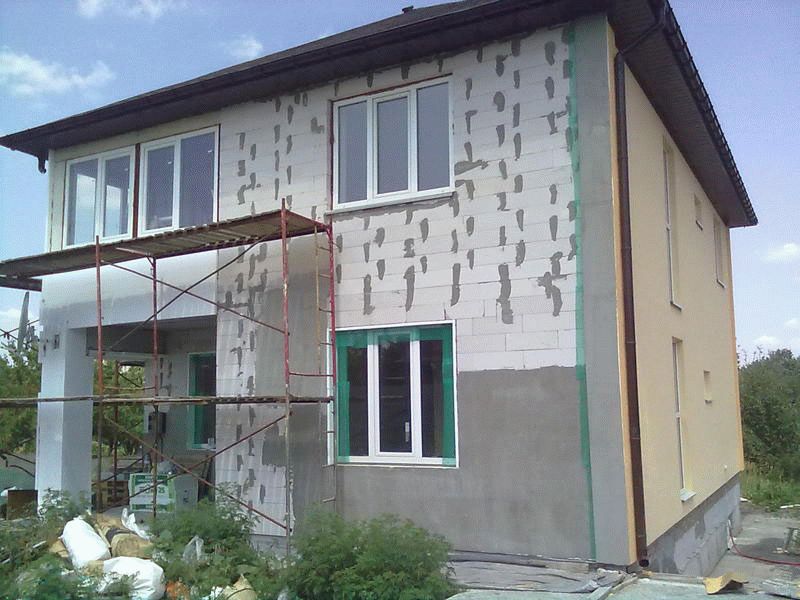
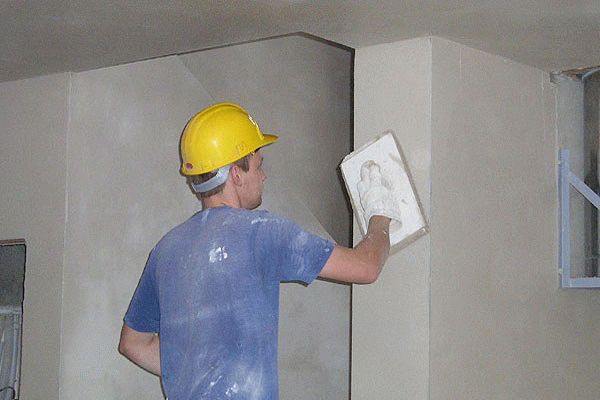 The last stage of wall decoration is plastering
 On a note! Before plastering concrete walls, it is important to immediately decide on the type of finish. Different types of paint require different types of plaster.
Aerated concrete blocks rarely require any finishing other than decorative, but if such a need arises, then, first of all, you need to choose the right material for plastering aerated concrete, and also follow the above rules and technologies.